

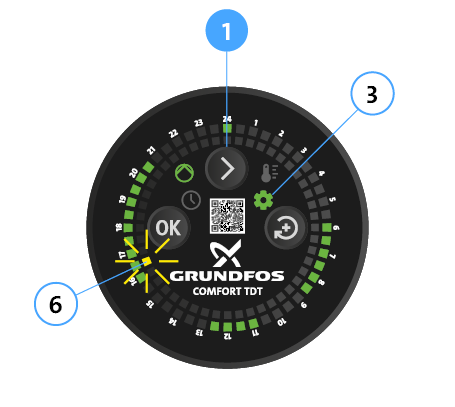
- Press Arrow button (1) repeatedly until the setting mode LED (3) has a steady green light. The actual time LED (6) has a flashing yellow light.
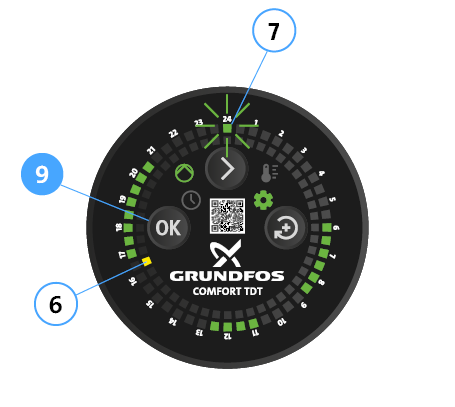
Confirm the time with OK (9). The actual time LED (6) has a steady yellow light. The operating time LED (7) 0:00 – 0:30 AM has a flashing green light.
Adding or deleting operating times
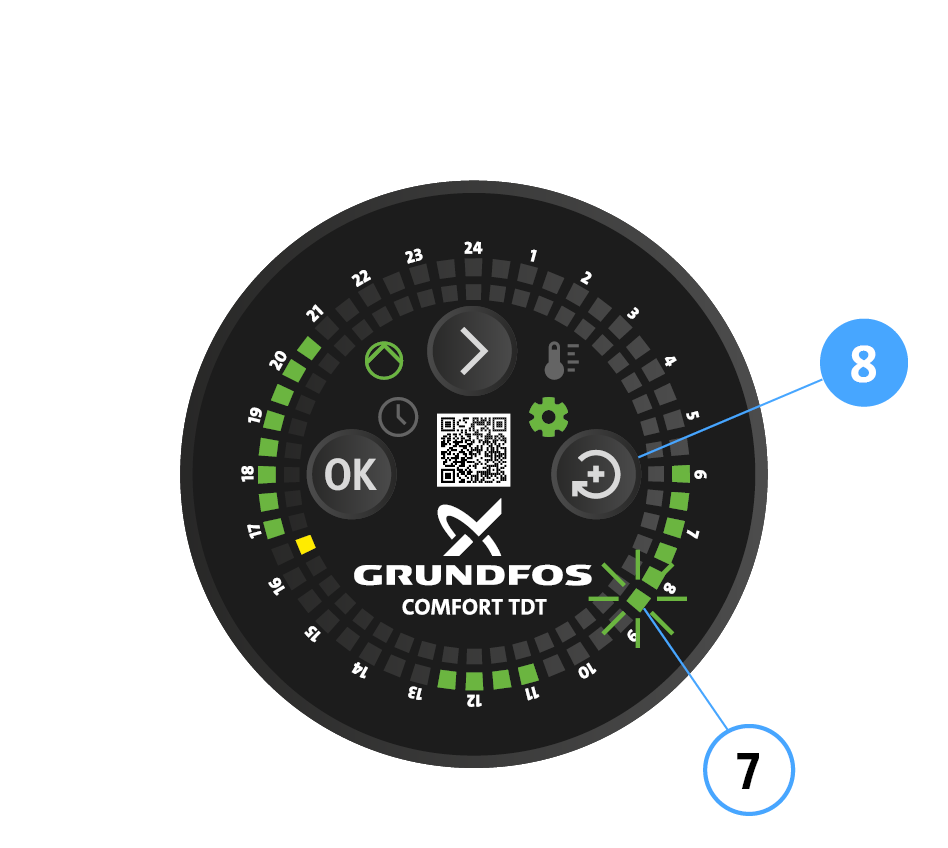
- Press the Change button (8) repeatedly until the flashing operating time LED is on the first required time segment (7) (e.g. 8:30 – 9:00 AM).
- To activate the time segment or delete an already activated time segment, press OK (9).
- The LED now has a steady green light or is off and the next time segment has a flashing green light (7).
- Activate this and subsequent time segments in the same way.
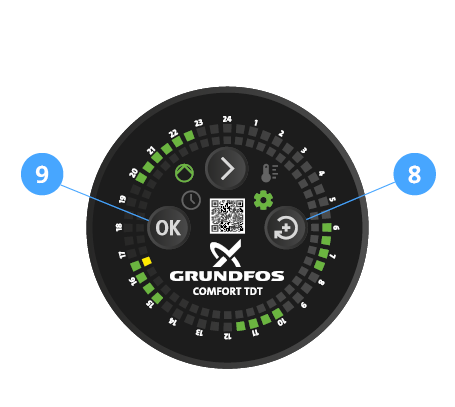
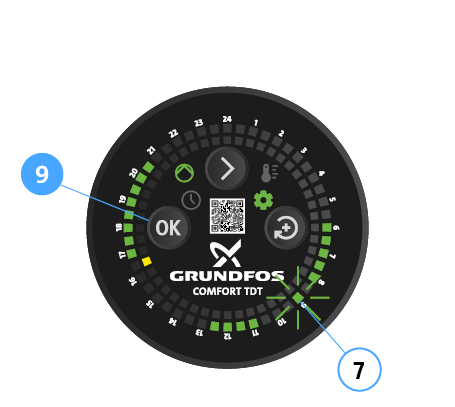
- To skip time segments, press the Change button (8) repeatedly. Then press OK (9) to activate or delete other time segments.

Example of a setting
- The actual time LED (6) is between 4:00 and 4:30 PM.
- Operating times (7):
- 06:00 – 08:00 AM
- 10:00 AM – 12:00 PM
- 03:00 – 05:00 PM
- 08:00 – 11:00 PM
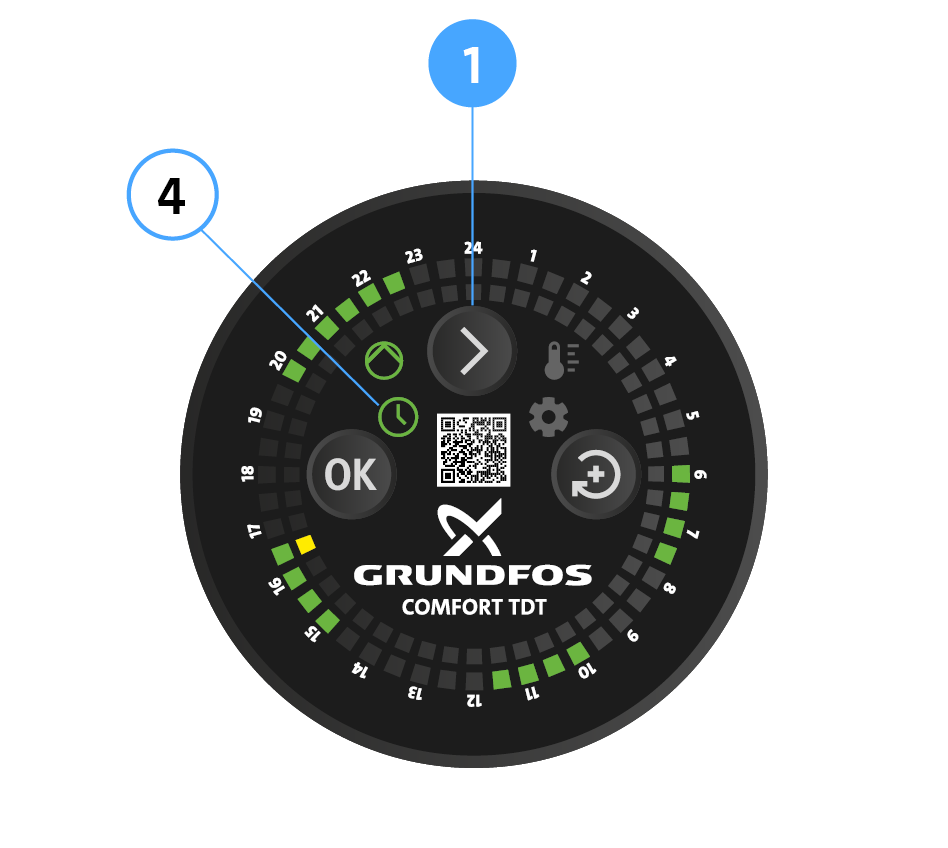
- When you have set all times, press the Arrow button (1) to exit setting mode. Timer mode LED (4) lights up. The selected operating times are indicated.